Here is a step-by-step walk through of how we made our project:
Step 1:
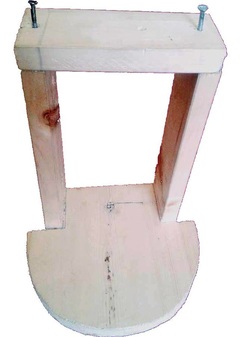
We first build a wooden frame. The frame holds the two magnets and also house the pivot mechanism. The top portion of the frame is attached to the rest of the frame with the help of screws.
Step 1:
We first build a wooden frame. The frame holds the two magnets and also house the pivot mechanism. The top portion of the frame is attached to the rest of the frame with the help of screws.
Step 2:
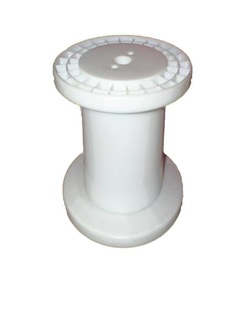
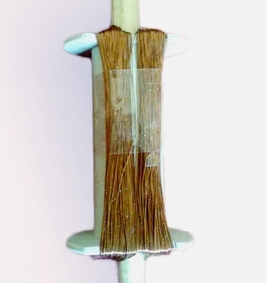
A bobbin (left out from finished solder rolls) is used as a frame for the coil. The coil cannot stay firmly on the round contours of the bobbin so notches were cut in the bobbin. We used copper wire of 36 gauge. There are 400 turns in this coil.
A bobbin (left out from finished solder rolls) is used as a frame for the coil. The coil cannot stay firmly on the round contours of the bobbin so notches were cut in the bobbin. We used copper wire of 36 gauge. There are 400 turns in this coil.
|
|
Step 3:
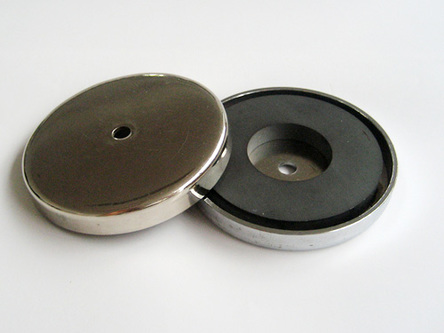
After winding now took two permanent magnets. These magnets were extracted from big-ass speakers. These magnets are used to produce a permanent magnetic field across the coil. You can also give neodymium magnets found in hard adisk drives a try. They are very strong, but perhaps the field won't be uniform for these magnets.
After winding now took two permanent magnets. These magnets were extracted from big-ass speakers. These magnets are used to produce a permanent magnetic field across the coil. You can also give neodymium magnets found in hard adisk drives a try. They are very strong, but perhaps the field won't be uniform for these magnets.
Step 4:
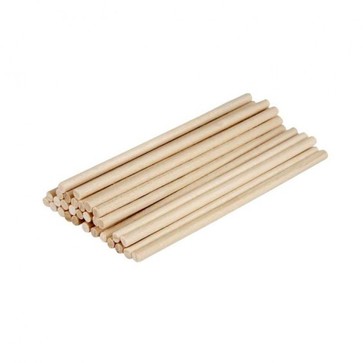
Now for pivot we used a wooden stick.
Now for pivot we used a wooden stick.
Step 5:
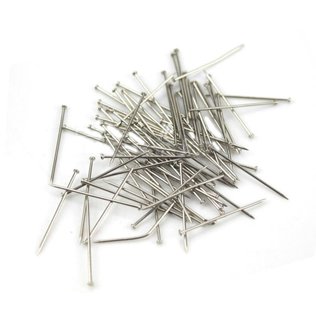
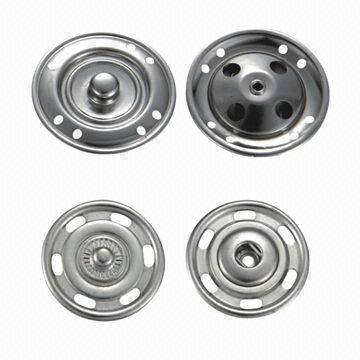
The problem with wooden pivot was that the fraction was very large. To tackle this problem, we used paper pin and tich buttons. The paper pins were inserted at both ends of the stick and then the composite stick was pivoted at top and bottom with tich buttons in the frame.
The problem with wooden pivot was that the fraction was very large. To tackle this problem, we used paper pin and tich buttons. The paper pins were inserted at both ends of the stick and then the composite stick was pivoted at top and bottom with tich buttons in the frame.
|
|
Step 6:
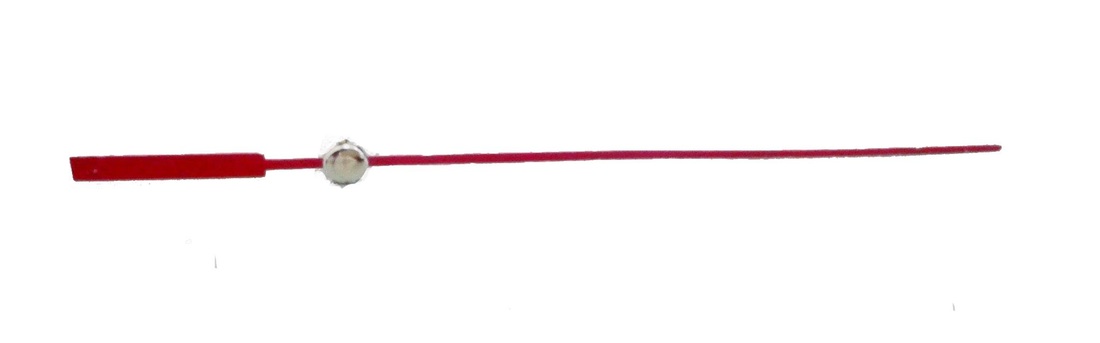
The last thing you will need is a needle pointer. You can easily extract it from some old wall clock
The last thing you will need is a needle pointer. You can easily extract it from some old wall clock
Step 7:
At the last for the restoring torque of the pivot we used a rubber band.
At the last for the restoring torque of the pivot we used a rubber band.

Assembling:
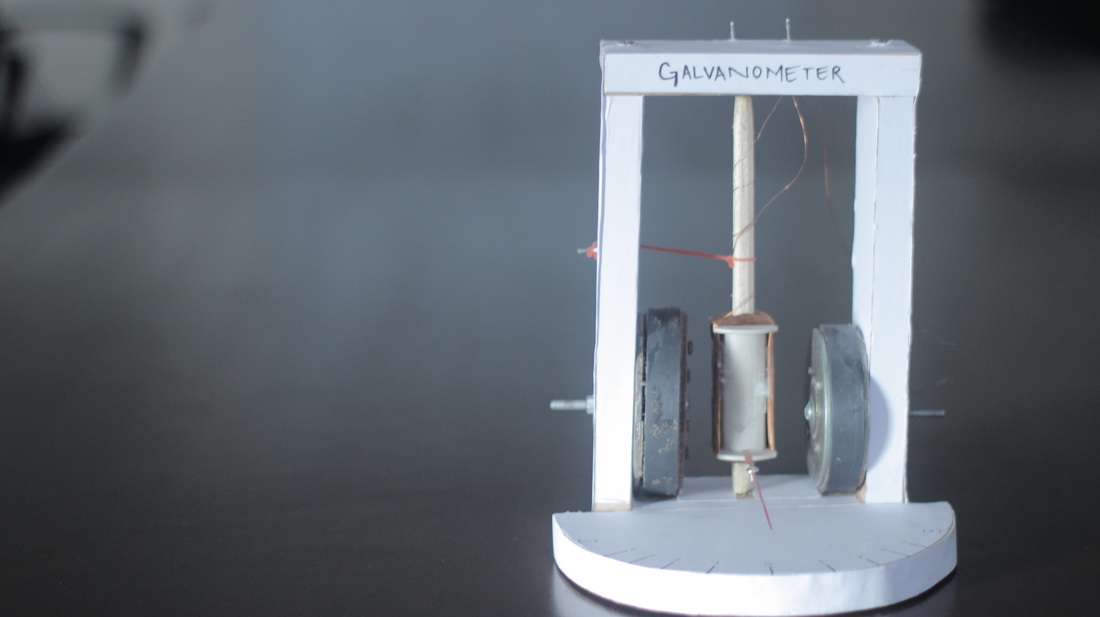
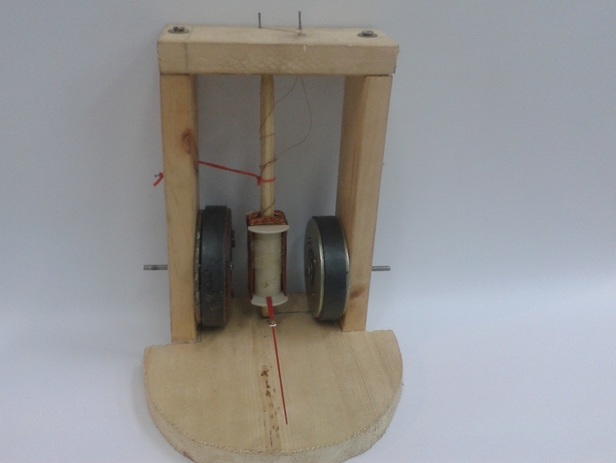
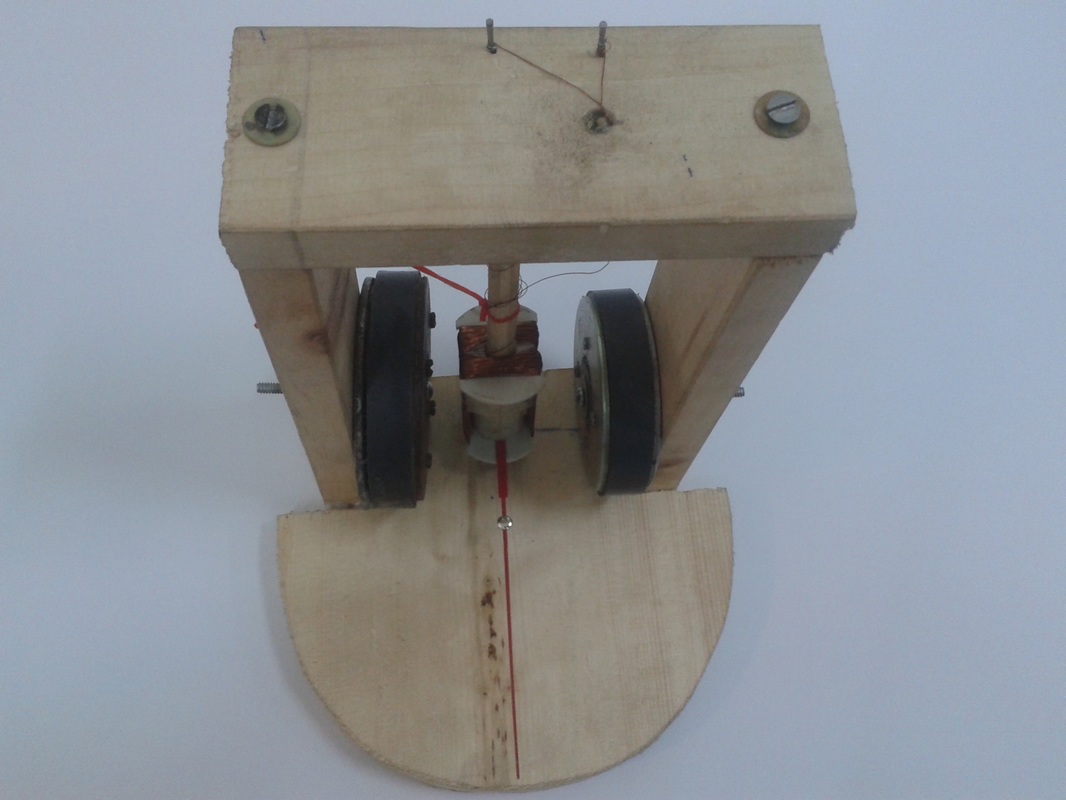
Assemble all the parts, and pat yourself on the back. You have designed a fully functional galvanometer. Hook it up to some juice and let electricity do the magic.
Your project should look like this:
Assemble all the parts, and pat yourself on the back. You have designed a fully functional galvanometer. Hook it up to some juice and let electricity do the magic.
Your project should look like this:
|
|
After assembling all the parts just decorate it, and make a scale for it.
And its final look will be like this as given below.